
|
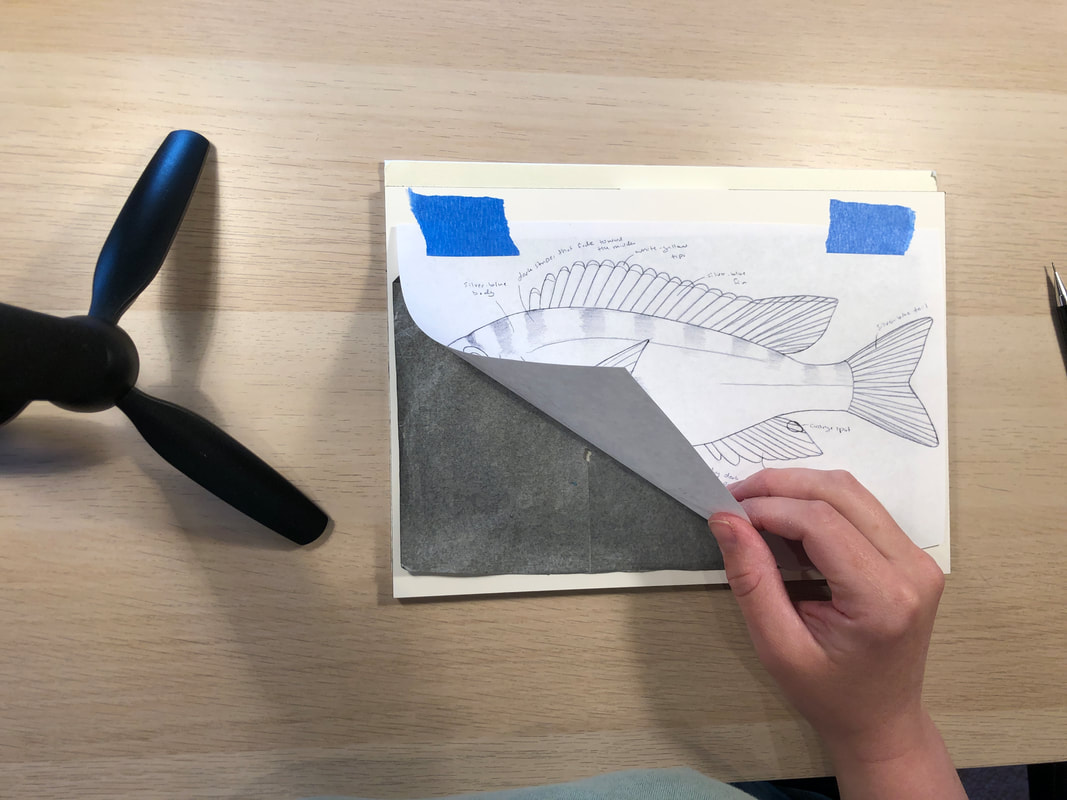
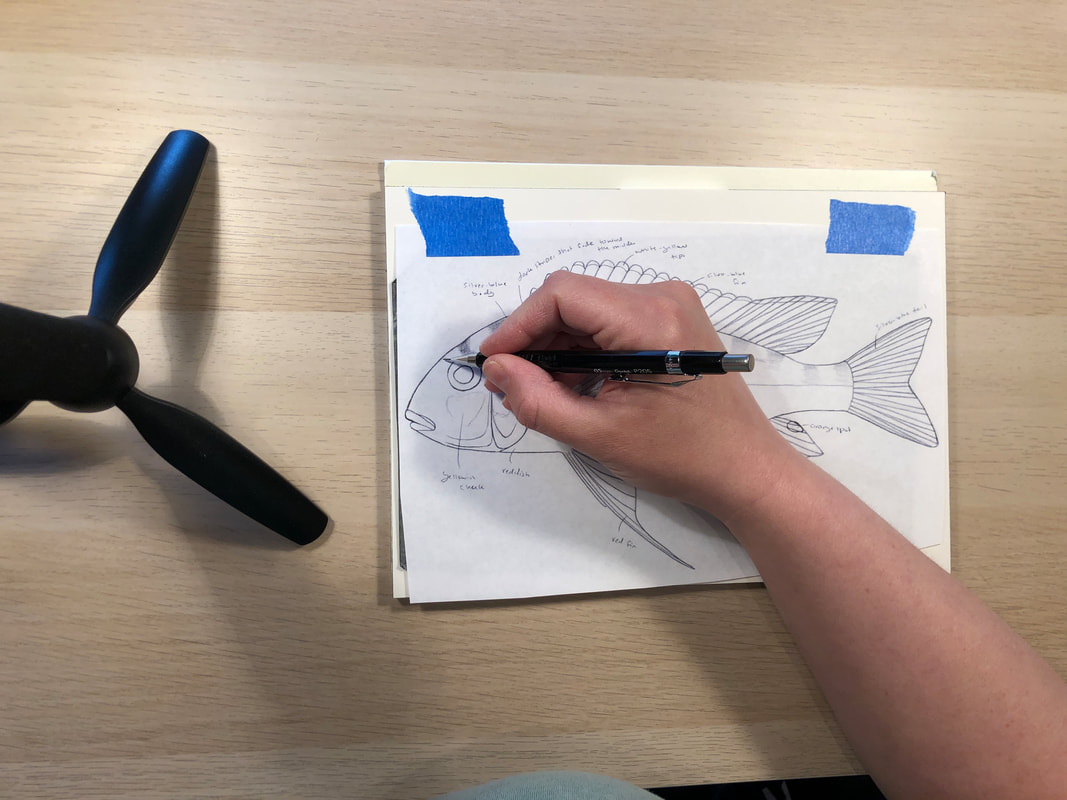
For the last few years, I have been painting all 250+ cichlid fish species in Lake Tanganyika for Walter Salzburger's lab in Switzerland. Through this project, I've learned a few things about how to paint fish, and I thought I would share my process! Step 1: Transfer the sketchI use reference photos, specimens, and feedback from working closely with experts to create the sketch. Once the sketch is finished, I then have to transfer it onto watercolor paper. For this step, I tape the sketch on the watercolor block, place a piece of carbon paper underneath, and trace the lines. The pressure from the pencil causes the carbon to deposit onto the watercolor paper.
Step 2: Trace back over the sketchThe carbon sketch ends up being kind of fuzzy and smudgy, so the next step is to use a kneaded eraser to remove some of the carbon so that there is just a light shadow of all of the lines. Then I go back over all of the lines with a very light pencil. Note: most of these videos will be time-lapse. I don't actually work this fast! Wouldn't it be awesome if I did. Step 3: Fill in the base colors and shadingNow I can start painting! I add all of the base colors and shading on the body and fins. I like to use a combination of grays and purples to add shadows to the body and give it a three-dimensional shape. (I also paint the eye pretty early in the process because adding an eye makes the fish look more alive, and for whatever reason, I find it easier to paint the fish when it looks like it has some personality.) STep 4: Paint the linesNext, I use a small brush to add the lines that make up all of the fins. I always leave the pectoral fin for one of the last steps because any additional painting I do on the body would smear or fade the pectoral fin. Step 5: Shade the FinsI now use some darker grays and purples to add shading to the fins and body. This is the step that really brings definition to each of the rays and makes the fins look more realistic. Step 6: Add in the stripes and spotsStripes and spots can be tricky. In some species of cichlid, the stripes are very well defined and will have a clean edge. For those, I can just put some paint on my brush and paint the stripes. But other cichlids, like this one, have more subtle markings that don't have a strong edge. For these, I put down a layer of water first, and then add paint on top. The water layer allows the paint to diffuse and give a more faded effect. Step 7: Put in a few HighlightsAfter I've painted the stripes, I add the lines to the pectoral fin (oops I forgot to video that part). The next thing to do is add highlights. This is my favorite part. I use white gouache, which is an opaque water-based paint, to add some shiny areas. This really brings the painting to light and makes it look polished and complete. Step 8: Finishing touchesI'm almost done! The very last thing to do to this painting is add in a few scales. These paintings are going to be reproduced pretty small in publications, and adding every single scale would result in a much more complicated painting that would look messier. So I have chosen to paint most of these fish with a hint of scales by adding some darker or lighter patches. I then scan and edit the painting digitally and submit them to be used in publications and presentations! 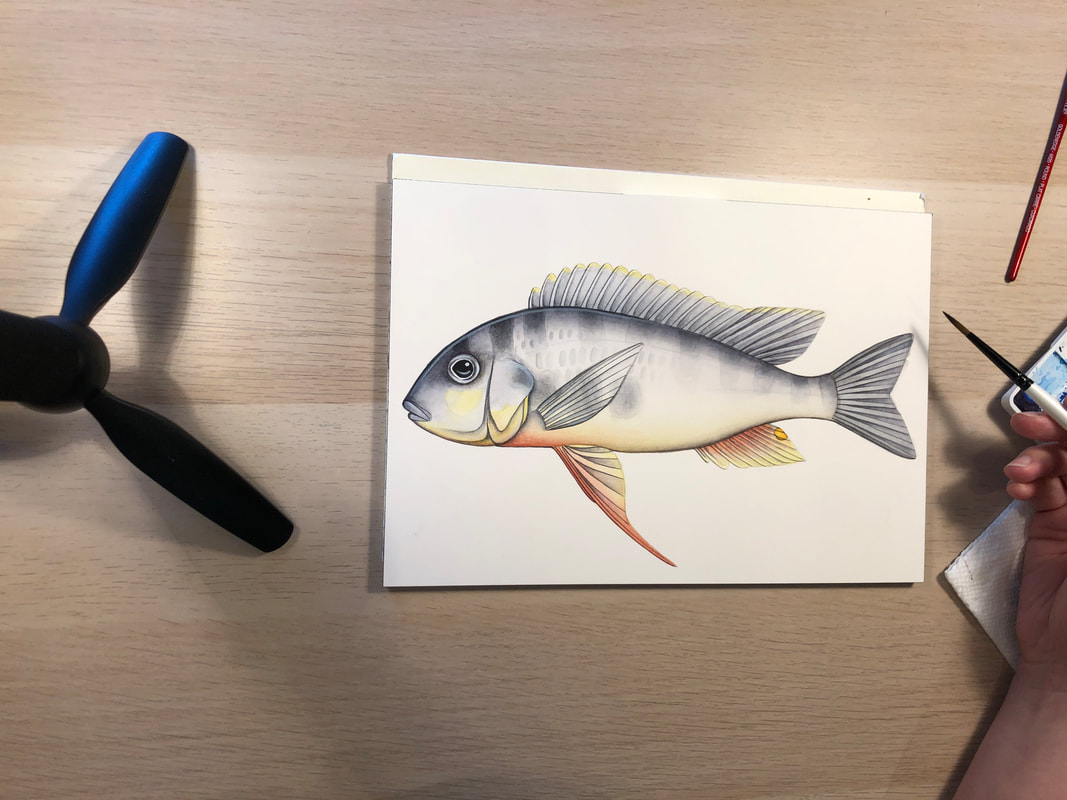 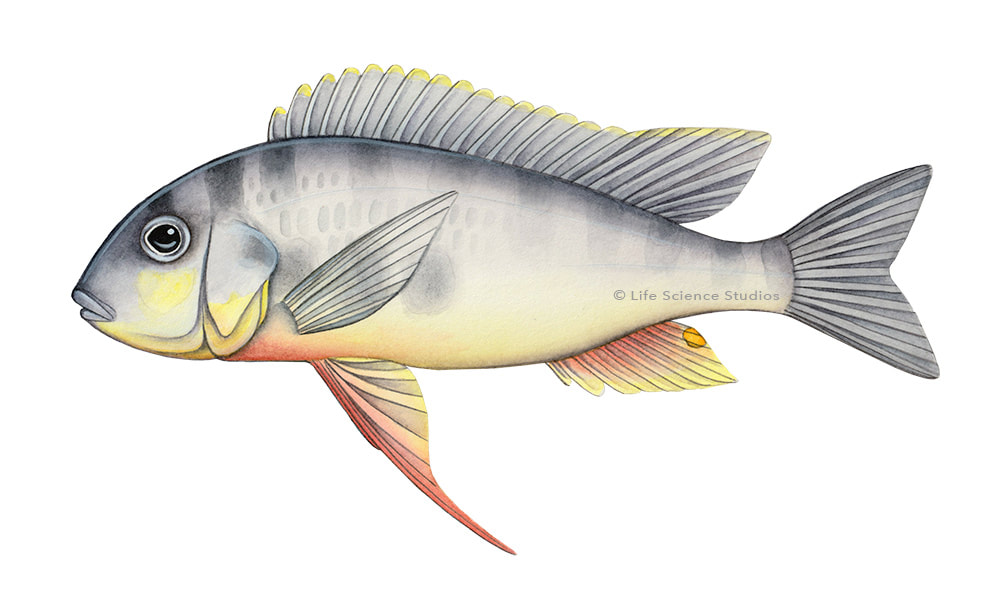
0 Comments
Your comment will be posted after it is approved.
Leave a Reply. |
Categories
All
|
 RSS Feed
Proudly powered by Weebly