
|
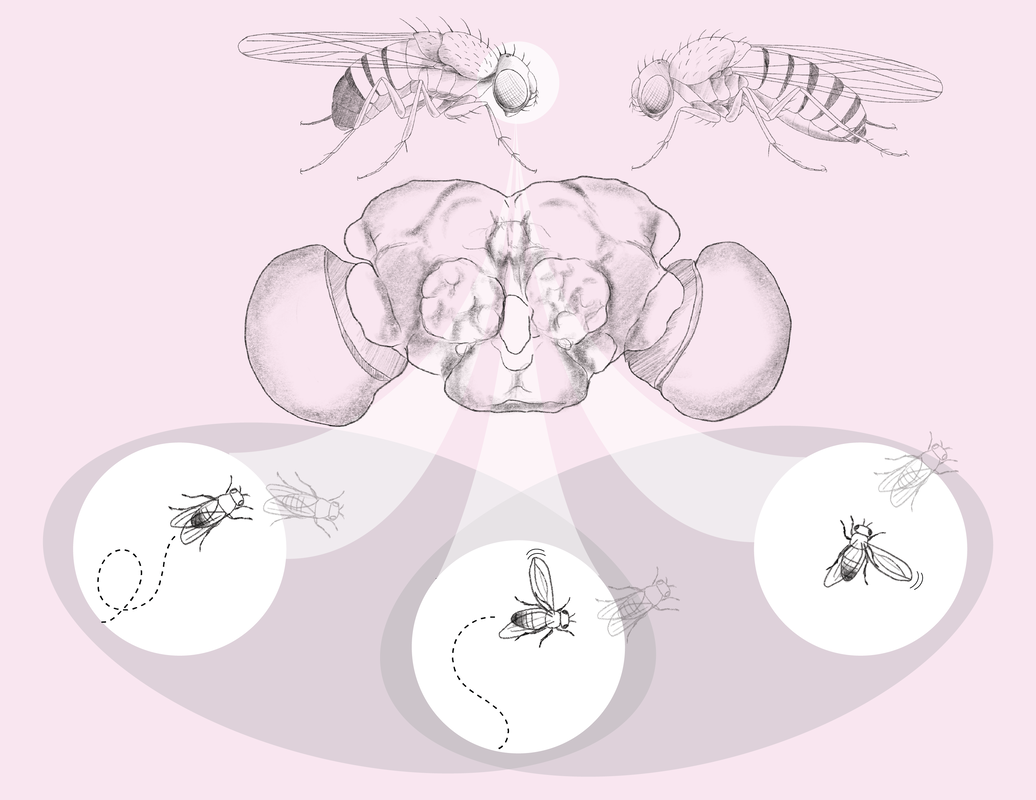
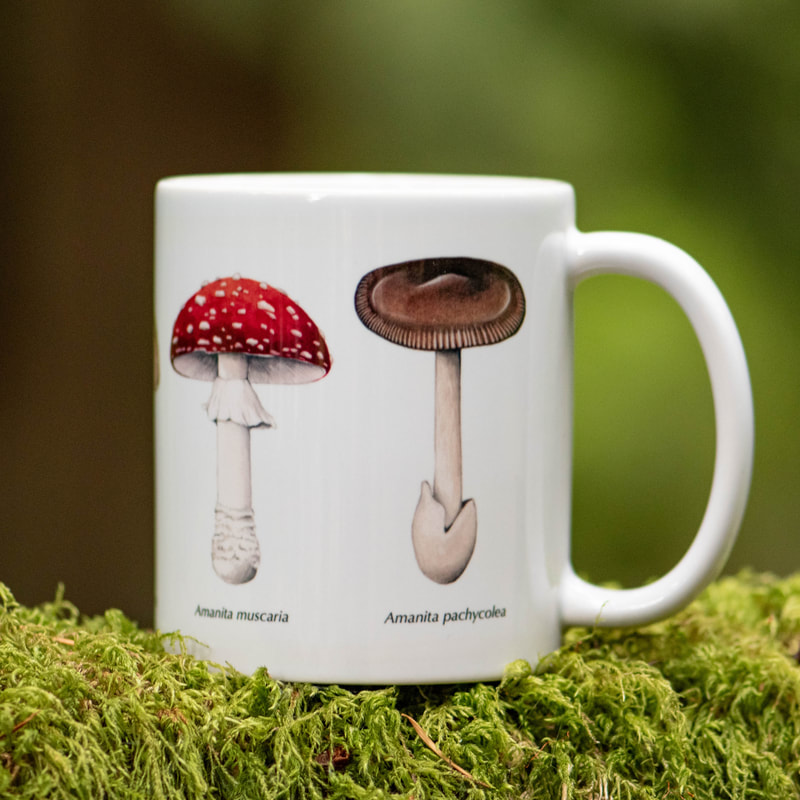
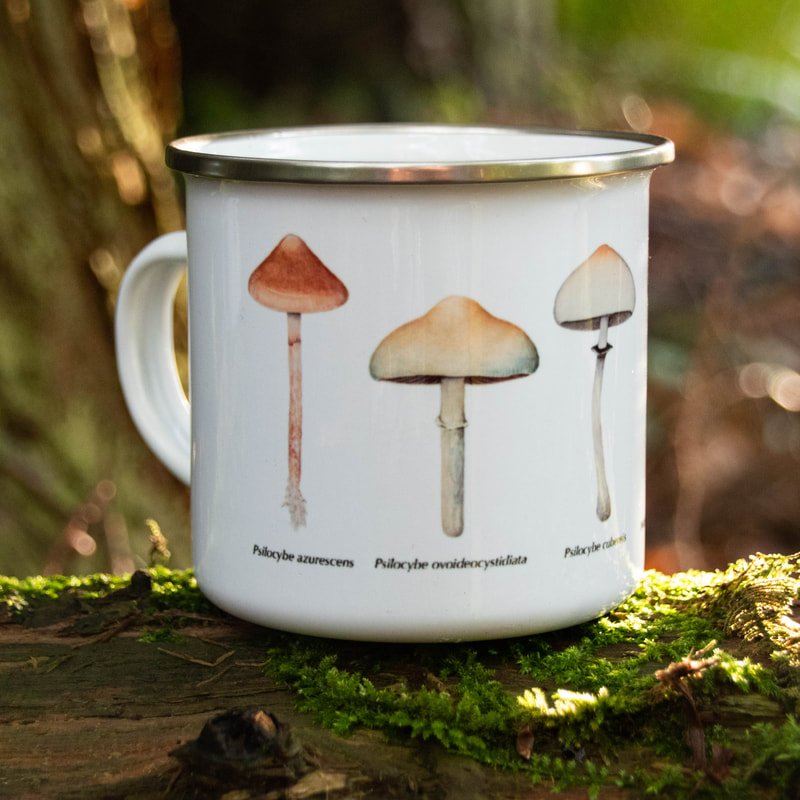
2021, like 2020, had us continuing to hunker down and try to stay safe through this pandemic. Between projects, I spent a lot of time wandering outside with my family here in the Pacific Northwest. It was a year of growth for Life Science Studios in many ways. I had the chance to work with a lot of new clients from all over the world and create illustrations about everything from fly brains to disease transmission. Every project was rewarding and a wonderful learning experience for me. Many of my projects from this past year have yet to be published, so I can't wait to share them with you when they come out in 2022! The mushroom shop also grew this year as I expanded to selling mugs wholesale in a number of small shops in Montreal and Oregon. I also added a few new designs and hope to add more next year. The illustration business isn't the only thing that is grew in 2021... I have been busy growing a new human as well! Our little girl is due in March and we can't wait to meet her. I will be spending January and February wrapping up existing projects and then going on maternity leave. I will be back to taking on new projects and clients in July 2022. Wishing you and your families a safe and happy new year!
4 Comments
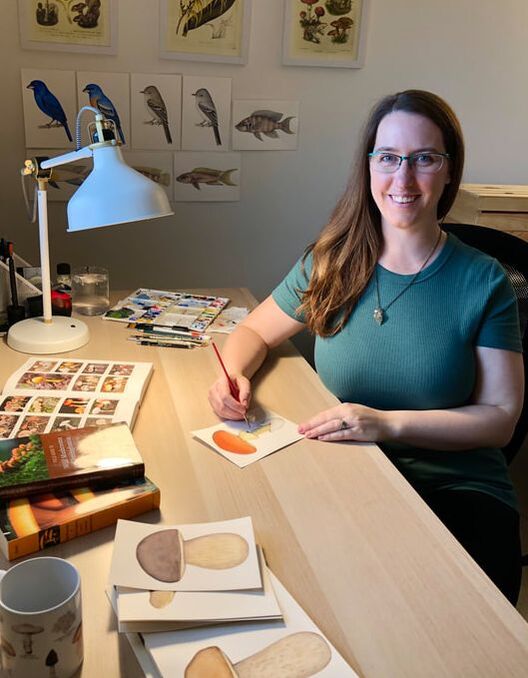
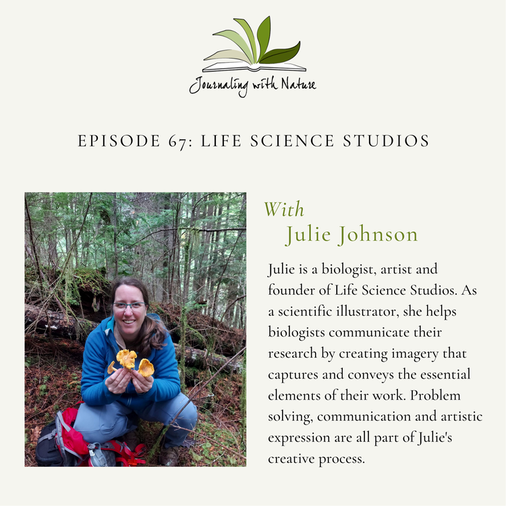 My favorite podcast, Journaling with Nature, asked me if I would be interested in being interviewed about science illustration. It was such a fun experience talking with Bethan Burton about nature in my childhood, my experience leaving academia and finding a career in science illustration, and how I go about collaborating with scientists to create figures and illustrations that help communicate their research.
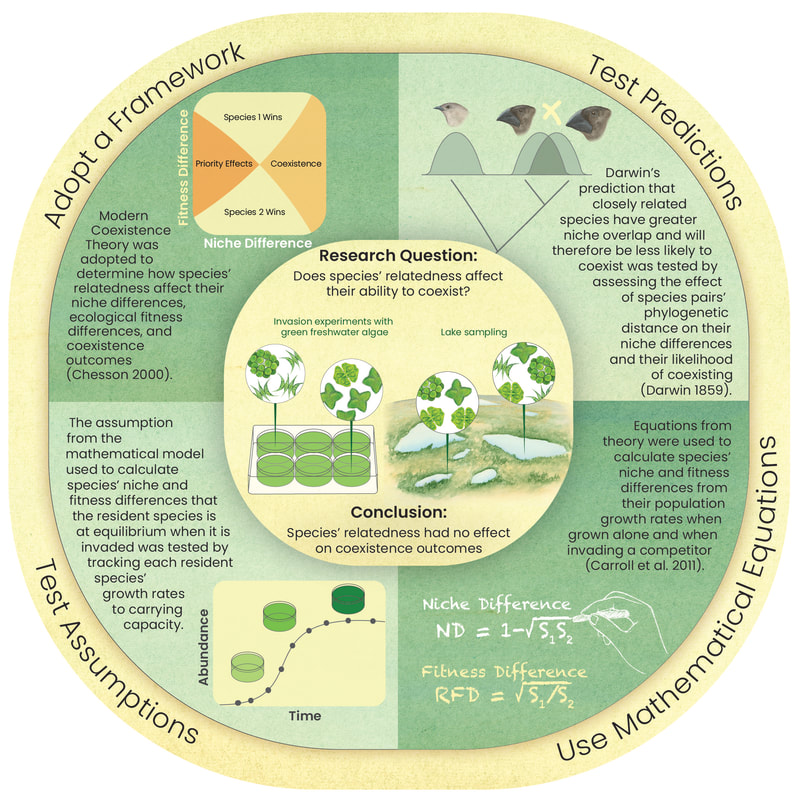
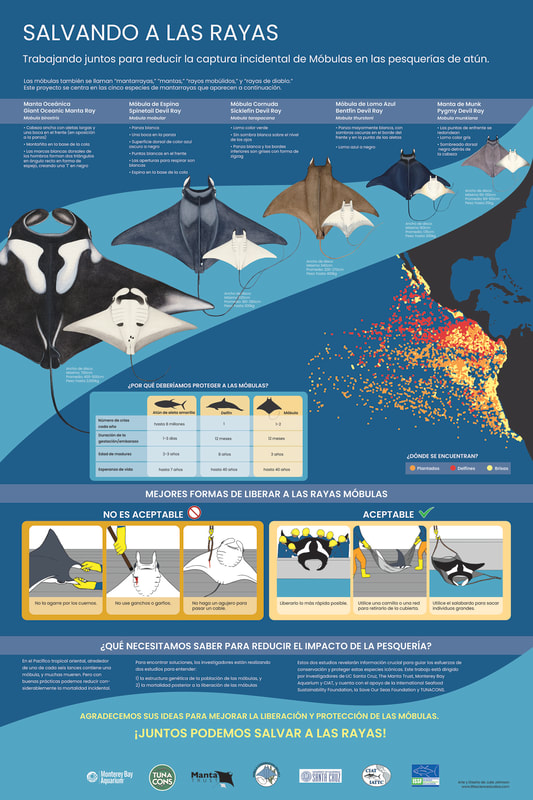
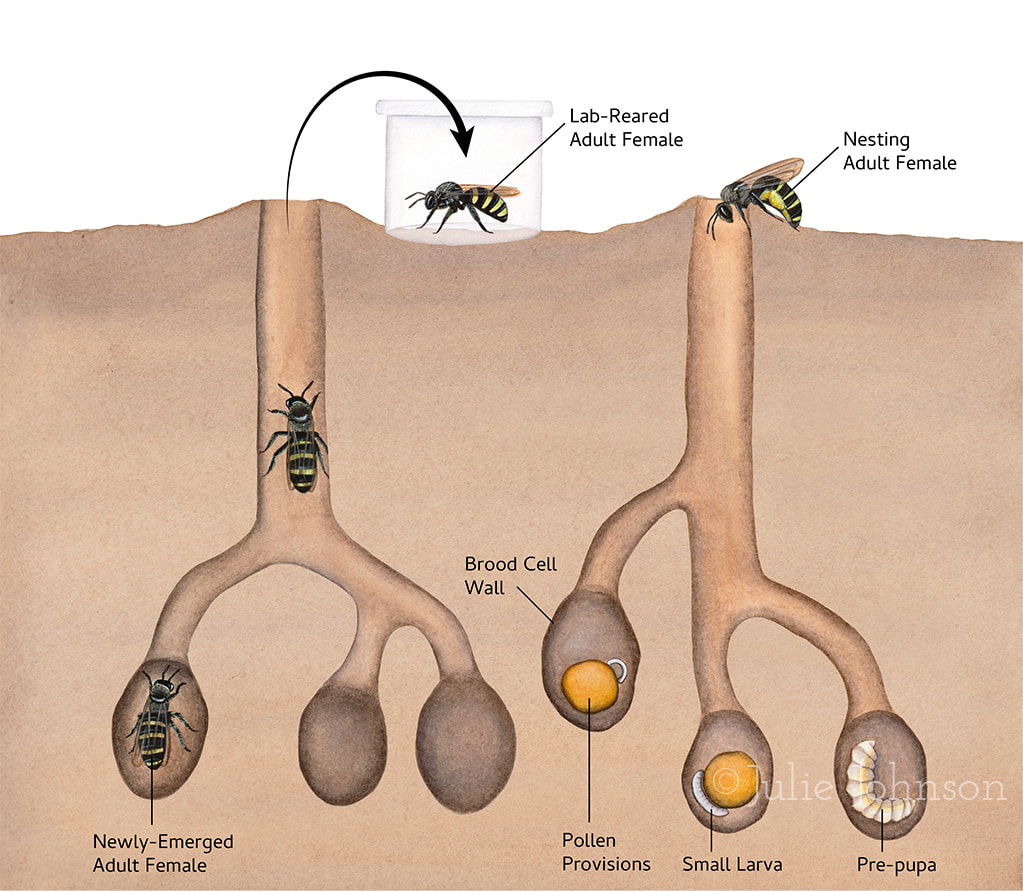
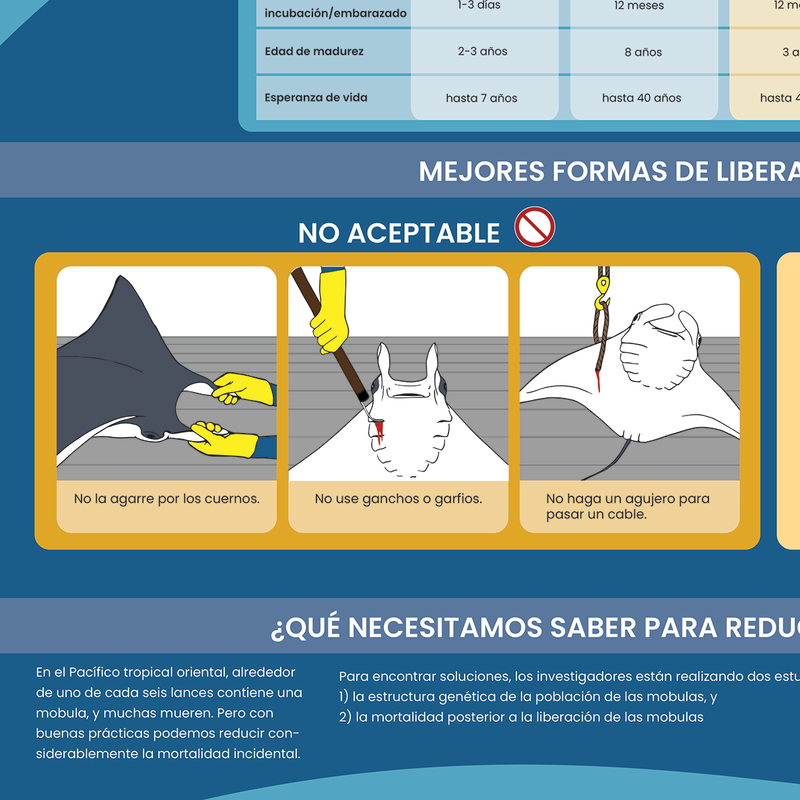
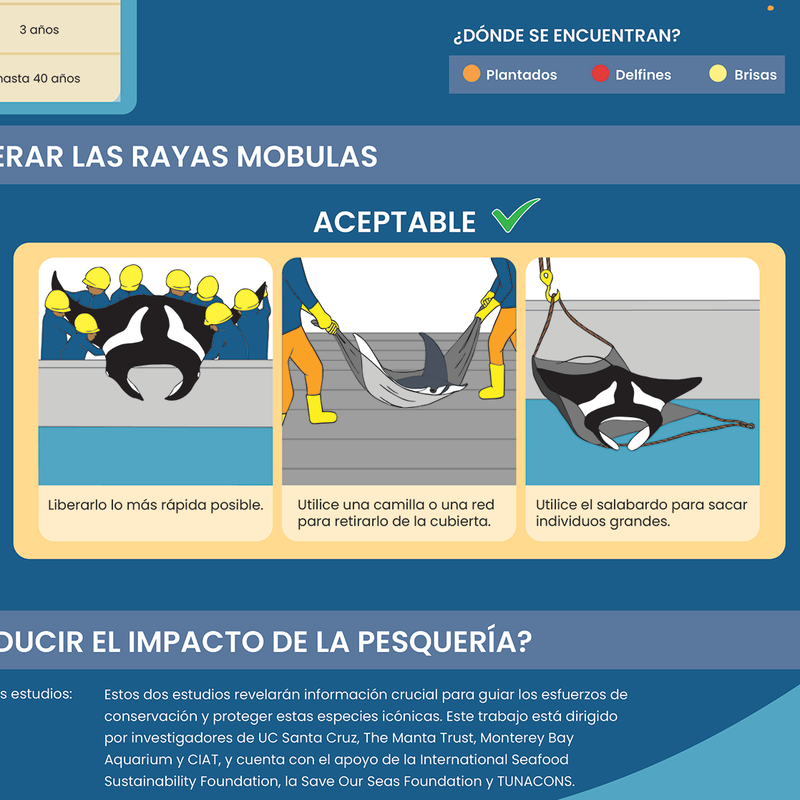
Some of the fun stuff we talk about: how growing up in a tropical rainforest sparked my love of biology, how much fun it has been to teach my daughter about the wildlife in her temperate rainforest surroundings (mostly slugs), and, of course, how I got hooked on mushroom hunting. We also explore the importance of communication when creating scientific figures and how creating an illustration is much like solving a puzzle. I thoroughly enjoyed talking with Bethan and I hope you enjoy listening to our conversation. Check out the link to listen to the podcast and the Journaling with Nature website. www.journalingwithnature.com/podcasts/episode-67-julie-johnson I am thrilled to announce that four of my Lake Tanganyika cichlid paintings are on the cover of Science Advances, highlighting research from Alexandra A.-T. Weber and her colleagues on cichlid evolution. It is wonderful to see science illustrations on the cover, and it really brings attention to the research. The cichlid paintings are also integrated into the figures throughout the paper. Congratulations to the authors on all of your hard work! If you are interested to read the paper, click this link -> https://www.science.org/doi/10.1126/sciadv.abg5391 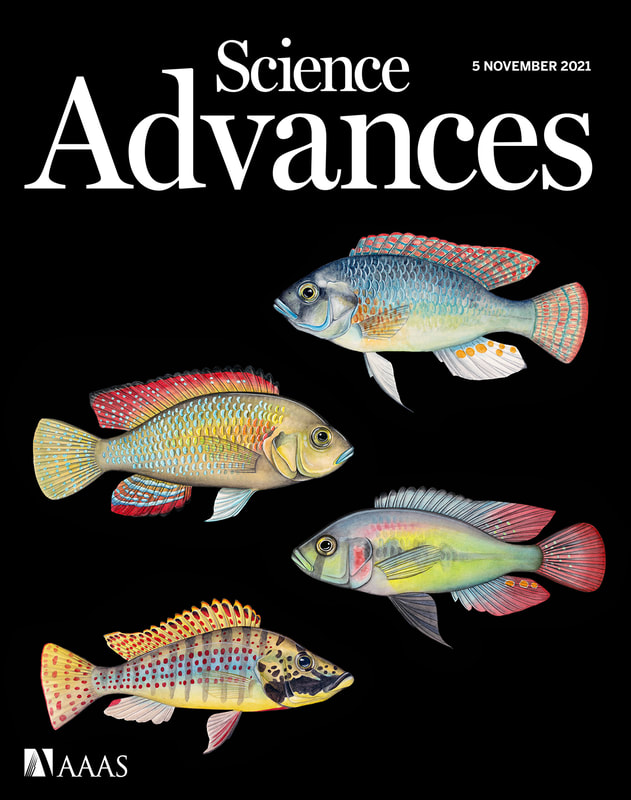 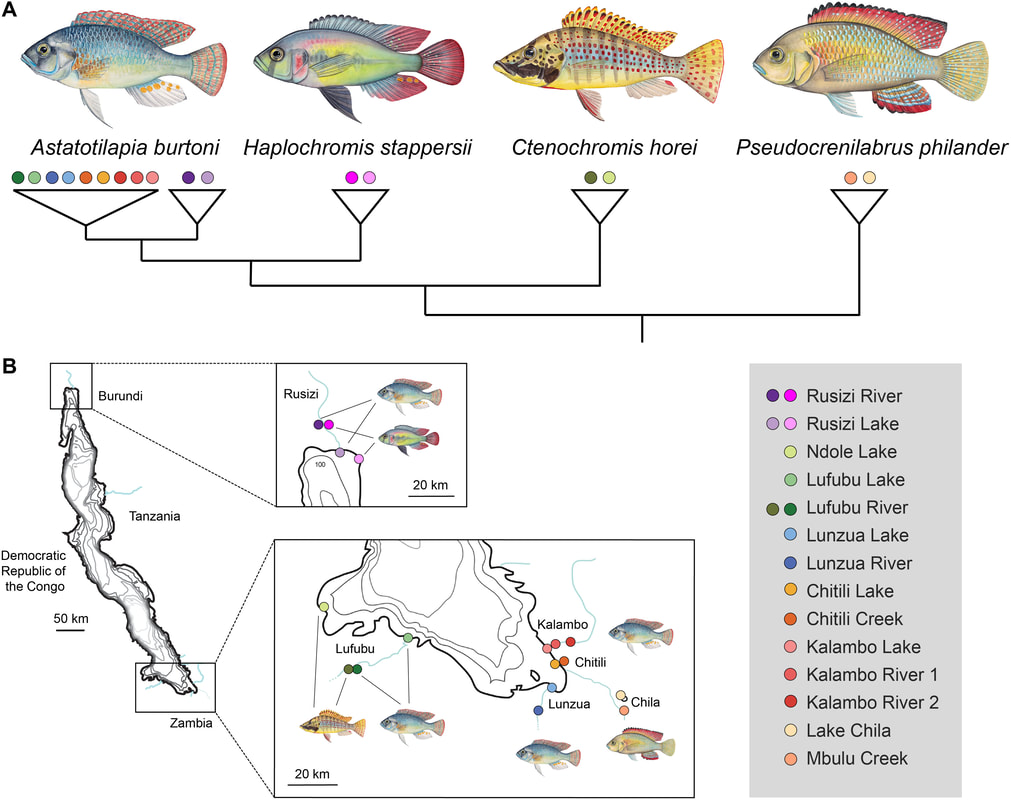 It is such an honor to have my painting of a Chinese high-fin sucker fish chosen for the cover of the scientific journal, Genome Biology and Evolution. The authors and I created this cover illustration by combining my watercolor painting with their data and adding a subtle genome sequence over the top of the painting. Most of my work is incorporated into figures, embedded inside the articles. It is really fun to see one of them out front on the cover. Thank you to the Krabbenhoft lab at the University at Buffalo for hiring me to do this work and putting out some really cool research! If you'd like to read the article, please visit academic.oup.com/gbe/article/13/9/evab190/6349175 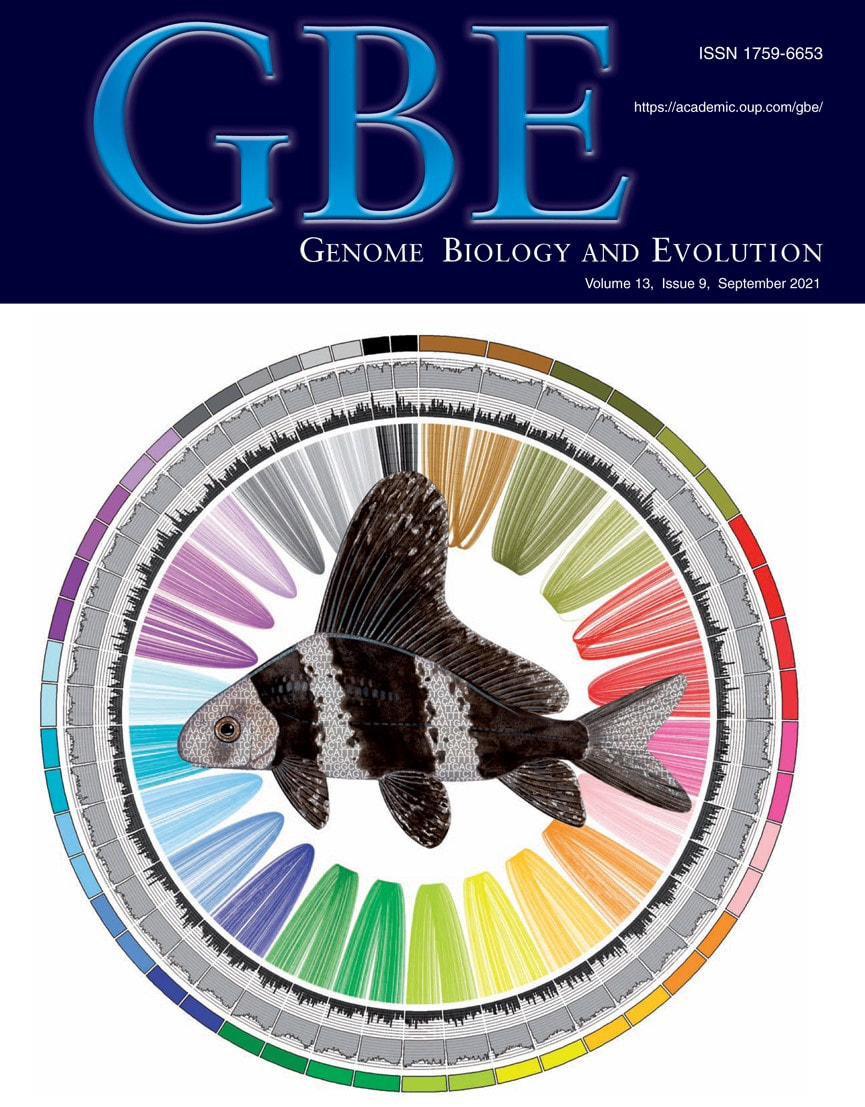 When it comes to ecology, there is one field where having illustrations really helps improve accessibility and understanding. That field is Theoretical Ecology. Theoretical ecologists look at complex interactions in nature and transform them into mathematical frameworks. It can be challenging to effectively communicate theory to a broader audience. I know I'm not the only one who glazes over when they see a paper full of equations! This is where an illustration can really work to give biological context to the math. My husband is a theoretical ecologist, and I've created a number of illustrations for his papers. This latest one took his equation for incorporating mutualisms into coexistence theory, and broke it into parts that I then explained visually using watercolor illustrations of each component of the equation. The figure helps show how each biological interaction is incorporated into the theory. You can read Christopher Johnson's paper in Ecology here. 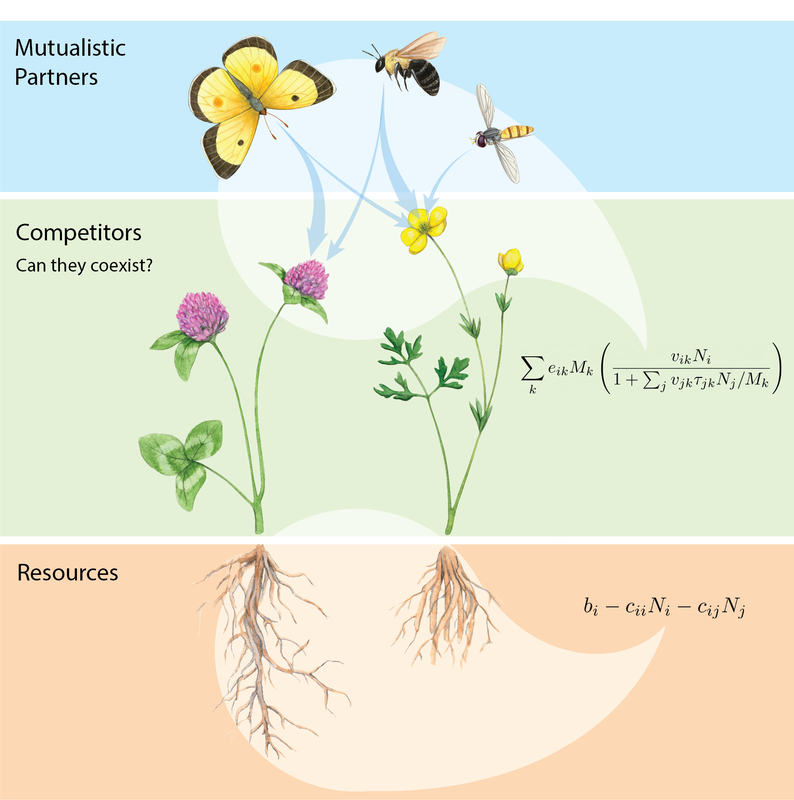 I have been working with Professor Karen Kapheim ever since I started working as a scientific illustrator, and I always enjoy working with her because it gives me a chance to paint bees. I have a big appreciation for bees, especially native bees. Often when we think about bees, we picture big hives or honeycomb. But did you know that there are bees that build underground burrows? Dr. Kapheim's recent work focuses on alkali bees (Nomia melanderi), which create underground tunnel networks in the mud for their eggs. For her lab's latest paper, I created a watercolor illustration to show the nesting bees and explain different aspects of the experimental design. Using artwork to show the experiment in a natural setting gives a better overall understanding of the science than a simple diagram or description would. Congratulations to the bee team on their latest findings! Kapheim, K.M., Johnson, M.M. & Jolley, M. Composition and acquisition of the microbiome in solitary, ground-nesting alkali bees, Scientific Reports 2021  "Could you paint all of the species? There are about 250 of them." When I moved to Switzerland in 2016, I didn't expect that I would end up with a job painting all of the African cichlid fish species in Lake Tanganyika! Walter Salzburger's lab in Basel has been studying the evolution and diversification of these fish, and his team was working on a big paper. Cichlids are diverse and beautiful, but it is incredibly difficult to get accurate photos of fish. Some of these species are teeny tiny, others have only been seen rarely or never alive. So it was really important to find a way to portray the species without the use of photographs. That's where I came in. I worked closely with the experts, read books, and worked with photographs to create watercolor paintings of each species. Often there wasn't much material to work with, but I became skilled at interpreting and filling in the gaps in knowledge. Late last year, the paper was published in Nature with all of the paintings. I was often asked if I am sick of painting fish, but I think the more fish I paint, the more I love them. Ronco, et al. Drivers and dynamics of a massive adaptive radiation in cichlid fishes, Nature 2020. 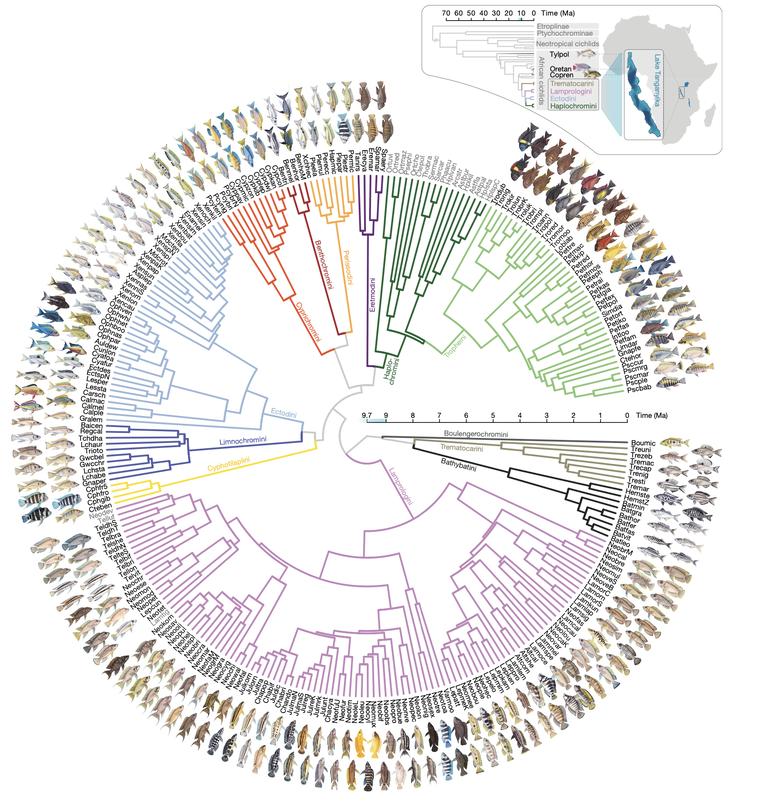 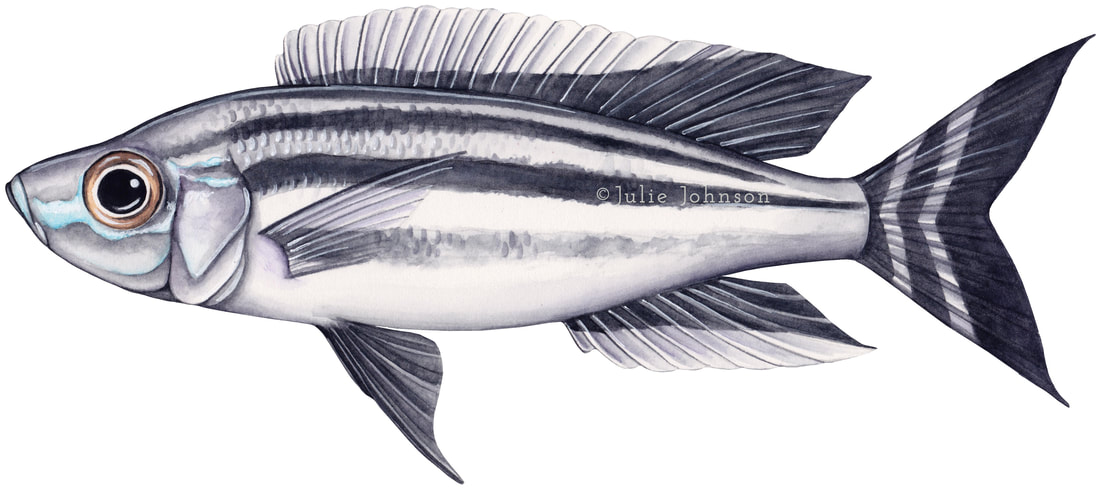 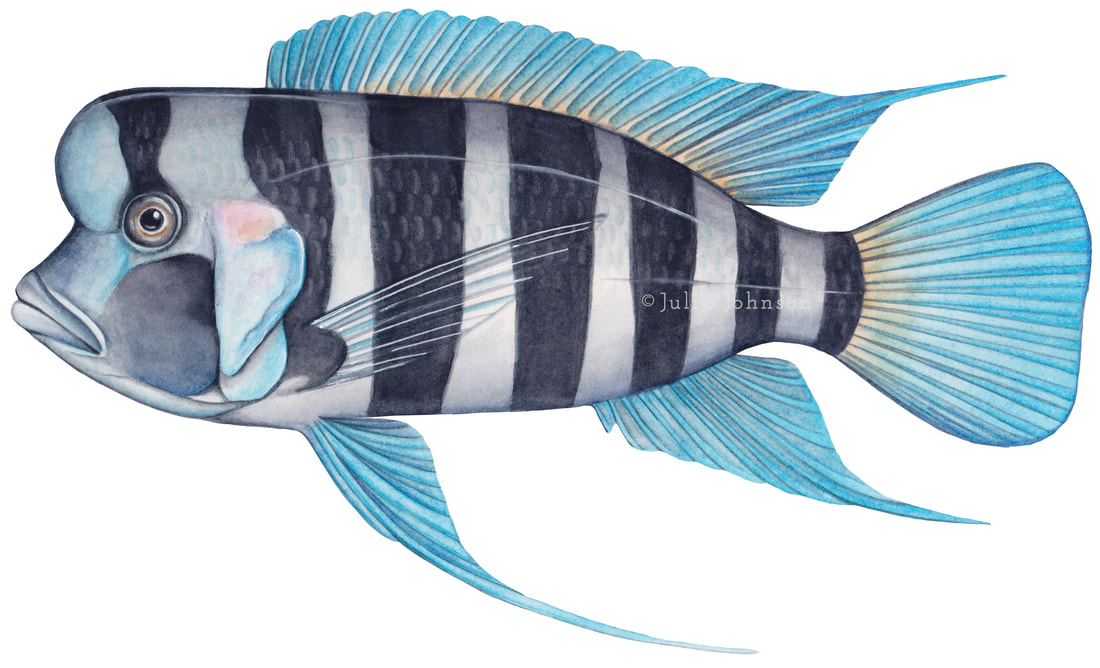 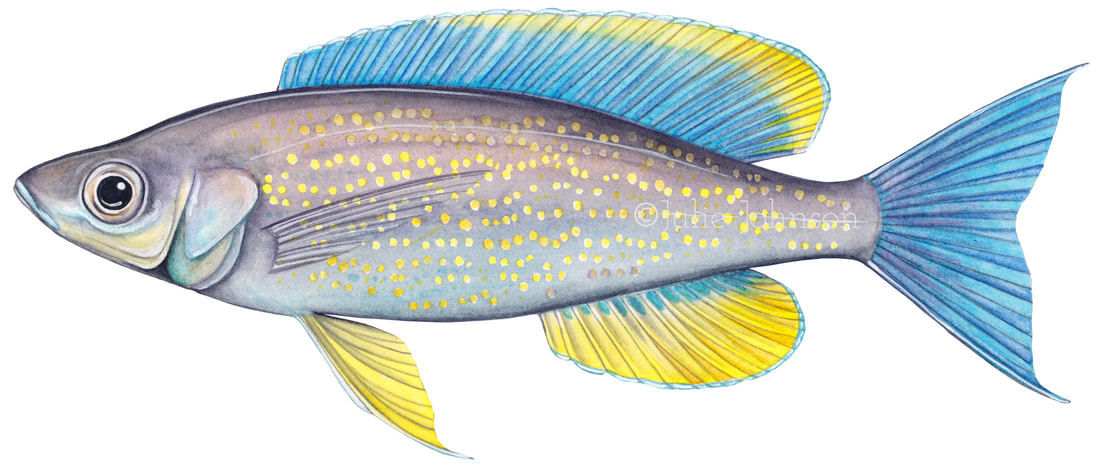 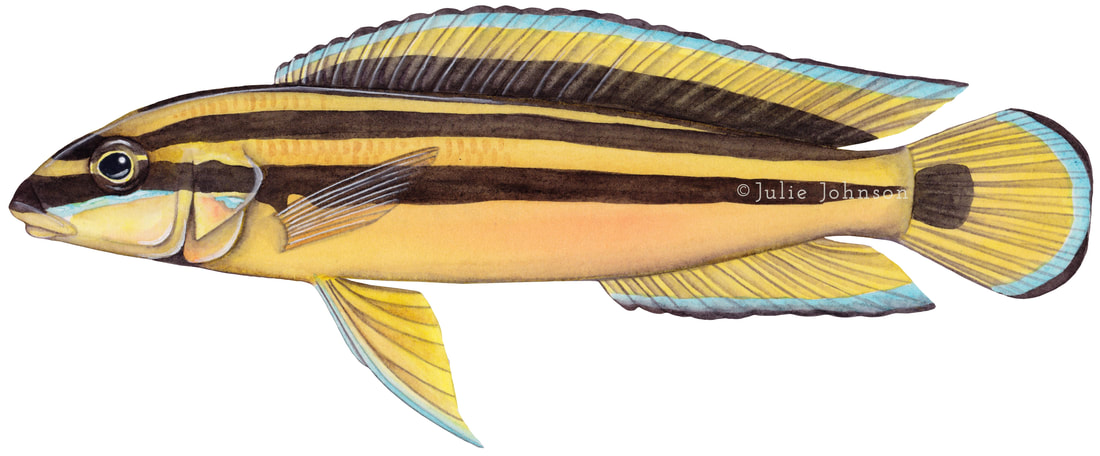 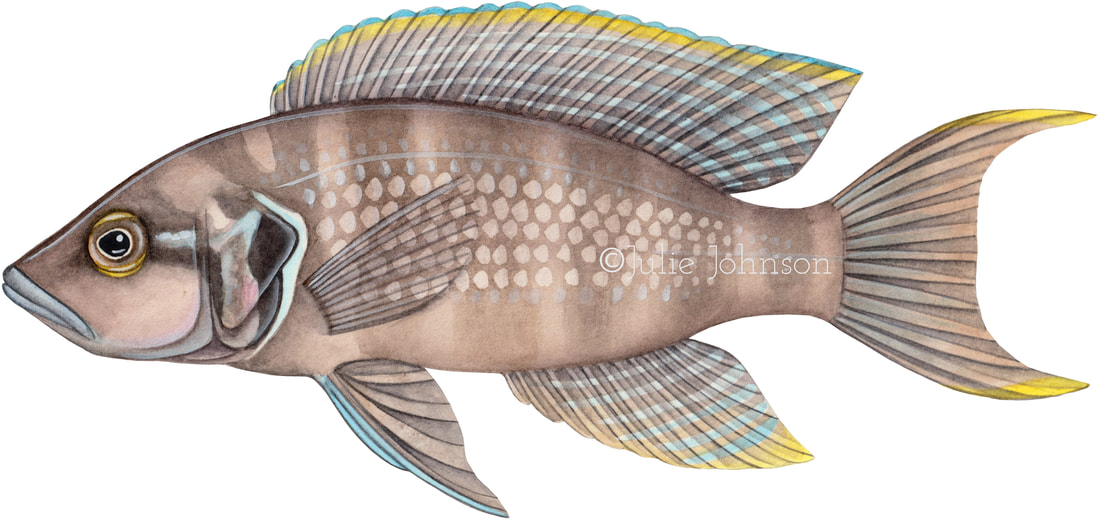 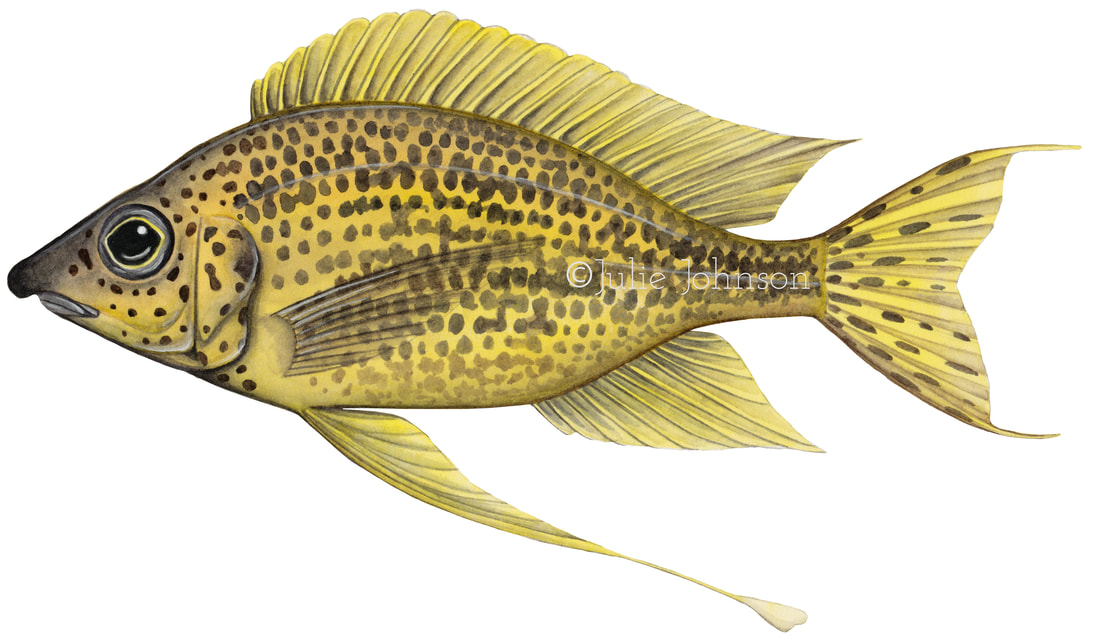 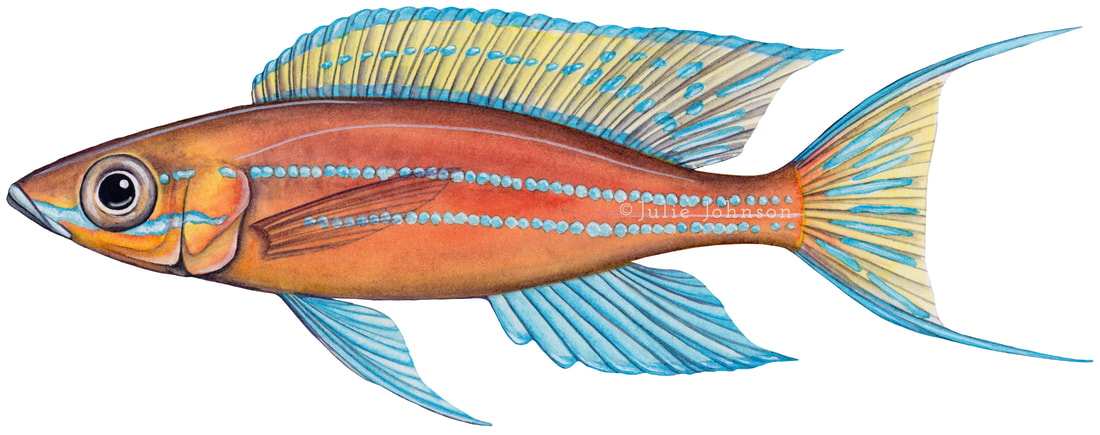   When I first teamed up with marine conservation biologist, Melissa Cronin at UC Santa Cruz, she needed paintings of manta and devil ray species and illustrations showing how rays are caught as bycatch during tuna fishing. The species are challenging to photograph and bycatch photos can be difficult to look at with an objective eye. The illustrations really helped show each species accurately and portray the fishing practices in a scientific way. As we worked together, she came up with the idea to create a poster for skippers to hang in their ships with information on the species, distribution, life history, and proper ways to handle them. This became part of a workshop that she and her collaborators conducted with the fishermen in order to identify and test methods of reducing bycatch and mortality of these large animals. 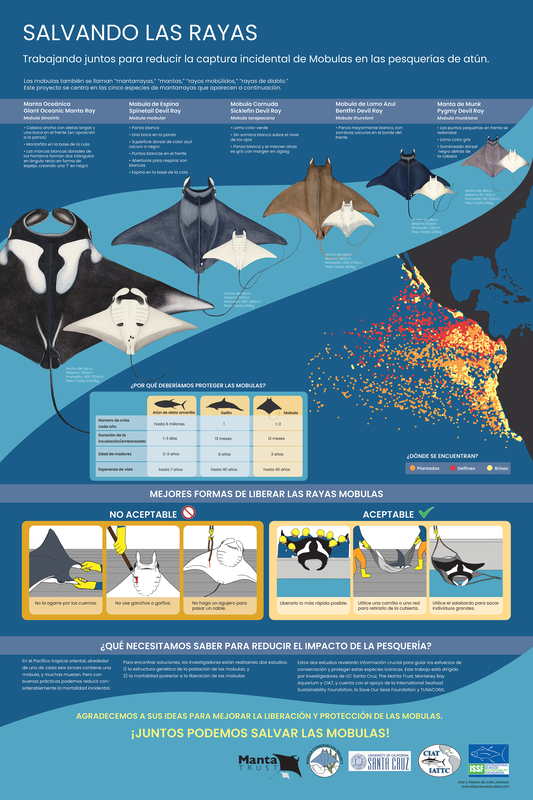 Some closeup images of the poster:
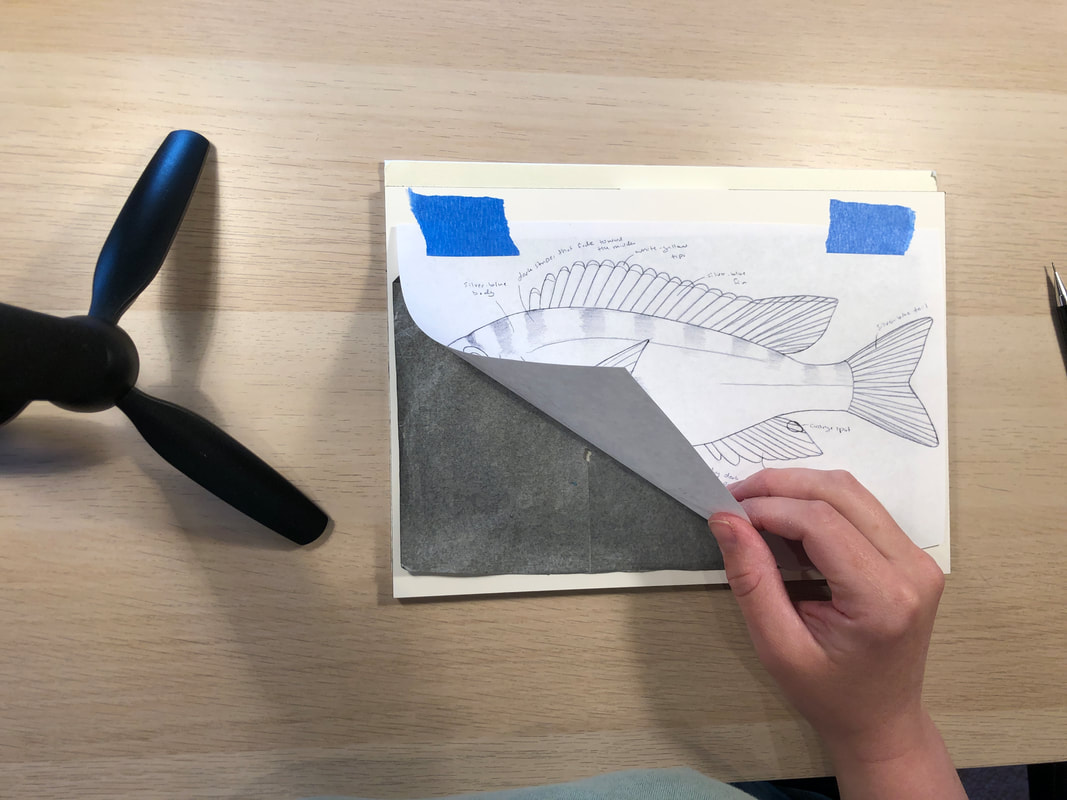
Like many organizations this summer, the Guild of Natural Science Illustration held their annual conference virtually this past weekend. While we all wished we could have been together, being virtual means a lot more people can participate in the event and also view the beautiful and varied artwork in this year's exhibit online. I am fortunate to have one of my pieces selected for the juried exhibit. Check out the link to see all of the wonderful scientific illustration: 2020 GNSI MEMBER EXHIBITION 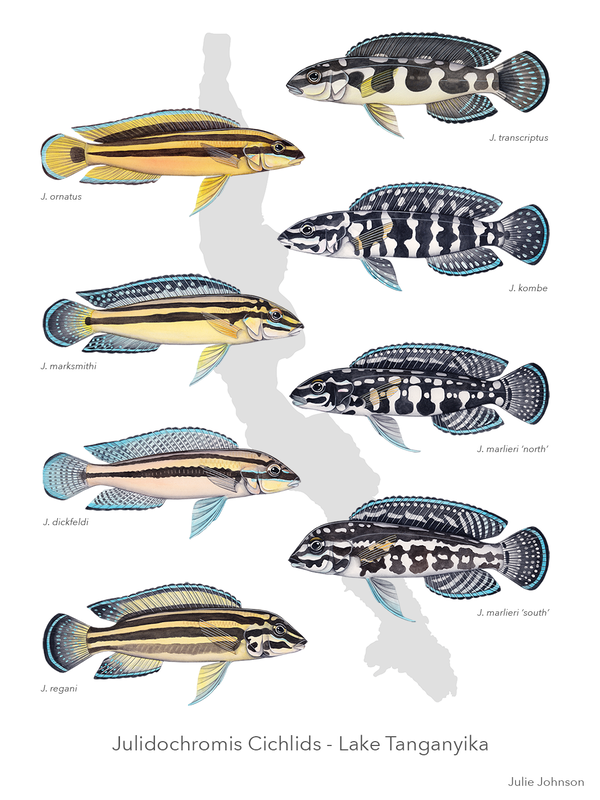 For the last few years, I have been painting all 250+ cichlid fish species in Lake Tanganyika for Walter Salzburger's lab in Switzerland. Through this project, I've learned a few things about how to paint fish, and I thought I would share my process! Step 1: Transfer the sketchI use reference photos, specimens, and feedback from working closely with experts to create the sketch. Once the sketch is finished, I then have to transfer it onto watercolor paper. For this step, I tape the sketch on the watercolor block, place a piece of carbon paper underneath, and trace the lines. The pressure from the pencil causes the carbon to deposit onto the watercolor paper.
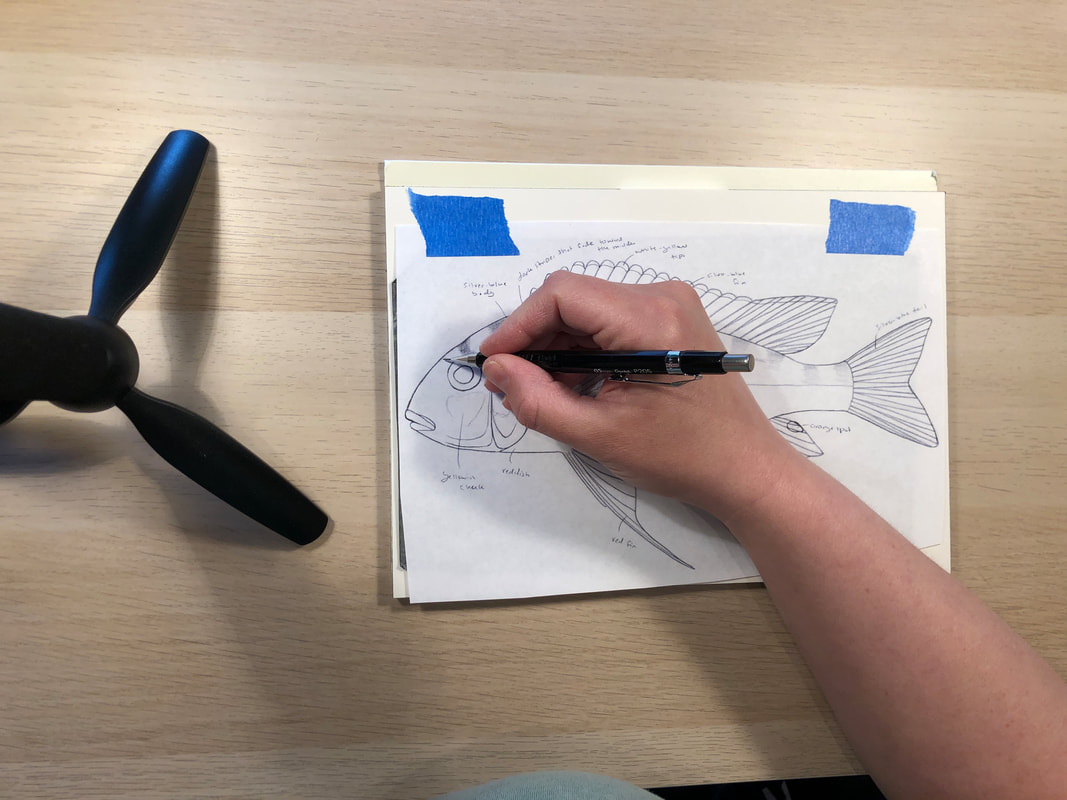
Step 2: Trace back over the sketchThe carbon sketch ends up being kind of fuzzy and smudgy, so the next step is to use a kneaded eraser to remove some of the carbon so that there is just a light shadow of all of the lines. Then I go back over all of the lines with a very light pencil. Note: most of these videos will be time-lapse. I don't actually work this fast! Wouldn't it be awesome if I did. Step 3: Fill in the base colors and shadingNow I can start painting! I add all of the base colors and shading on the body and fins. I like to use a combination of grays and purples to add shadows to the body and give it a three-dimensional shape. (I also paint the eye pretty early in the process because adding an eye makes the fish look more alive, and for whatever reason, I find it easier to paint the fish when it looks like it has some personality.) STep 4: Paint the linesNext, I use a small brush to add the lines that make up all of the fins. I always leave the pectoral fin for one of the last steps because any additional painting I do on the body would smear or fade the pectoral fin. Step 5: Shade the FinsI now use some darker grays and purples to add shading to the fins and body. This is the step that really brings definition to each of the rays and makes the fins look more realistic. Step 6: Add in the stripes and spotsStripes and spots can be tricky. In some species of cichlid, the stripes are very well defined and will have a clean edge. For those, I can just put some paint on my brush and paint the stripes. But other cichlids, like this one, have more subtle markings that don't have a strong edge. For these, I put down a layer of water first, and then add paint on top. The water layer allows the paint to diffuse and give a more faded effect. Step 7: Put in a few HighlightsAfter I've painted the stripes, I add the lines to the pectoral fin (oops I forgot to video that part). The next thing to do is add highlights. This is my favorite part. I use white gouache, which is an opaque water-based paint, to add some shiny areas. This really brings the painting to light and makes it look polished and complete. Step 8: Finishing touchesI'm almost done! The very last thing to do to this painting is add in a few scales. These paintings are going to be reproduced pretty small in publications, and adding every single scale would result in a much more complicated painting that would look messier. So I have chosen to paint most of these fish with a hint of scales by adding some darker or lighter patches. I then scan and edit the painting digitally and submit them to be used in publications and presentations! 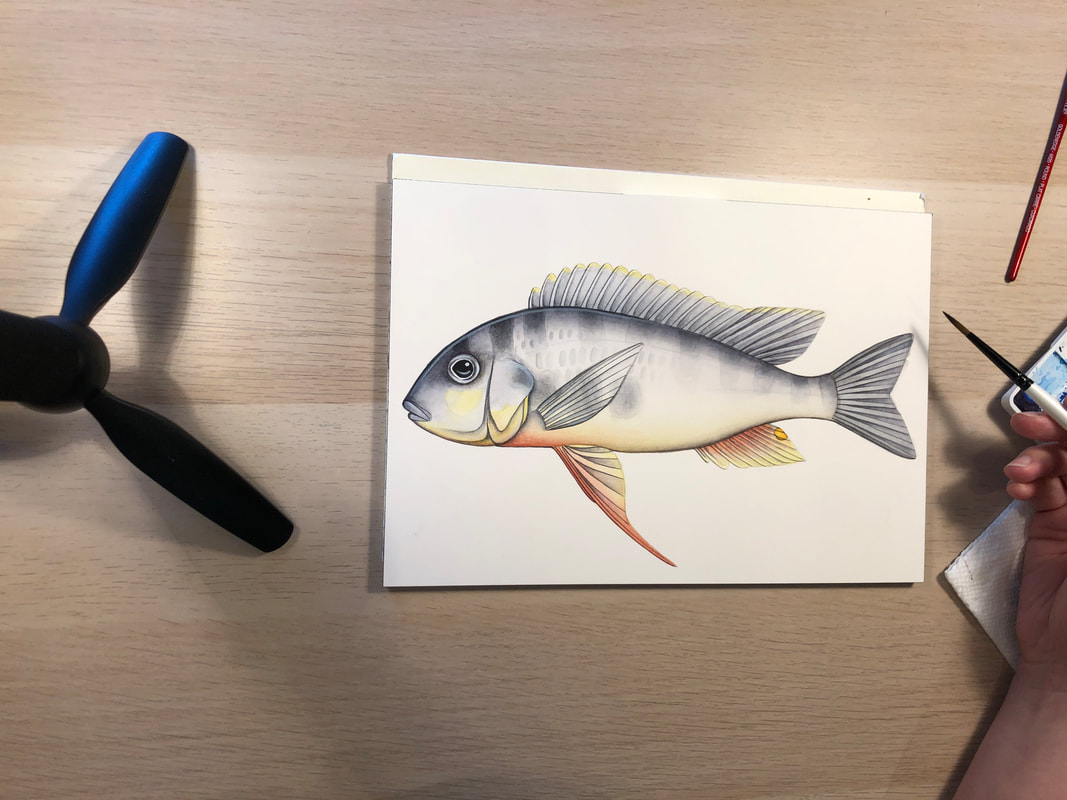 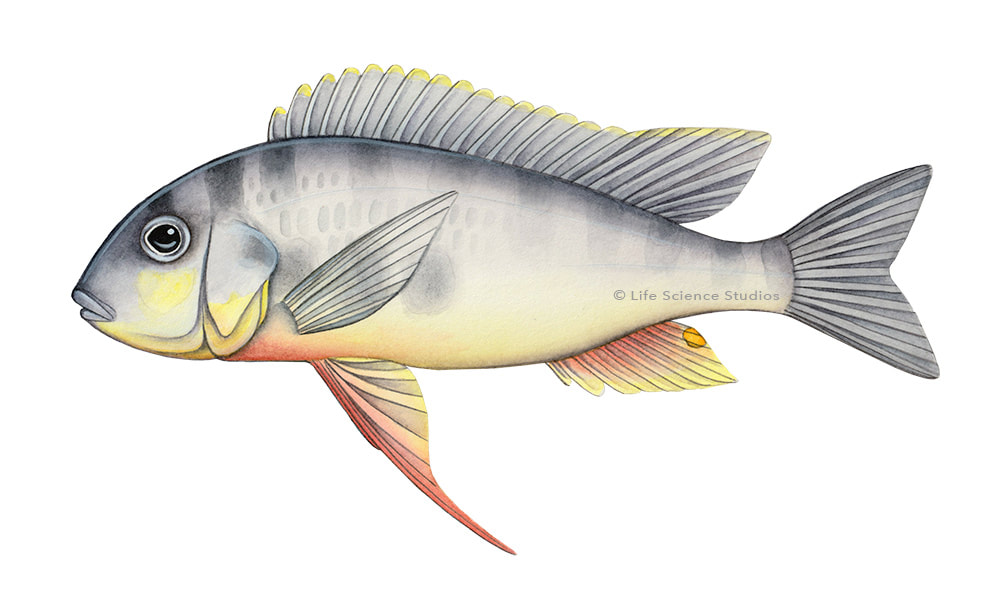 |
Categories
All
|


 RSS Feed
Proudly powered by Weebly